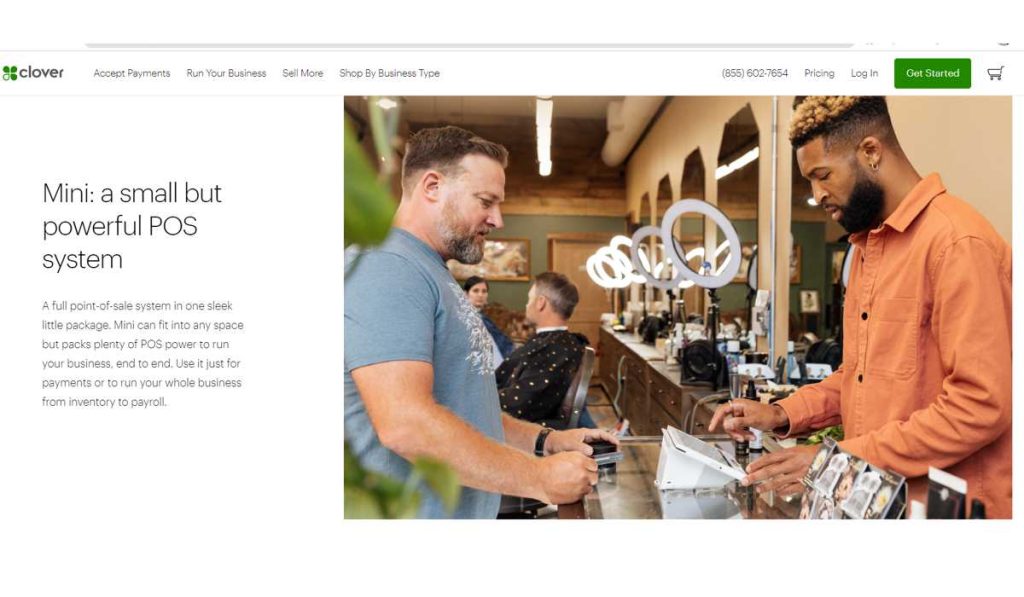
Clover POS is one of the easiest and most reliable point-of-sale systems on the market. When you start using the software for business, you may encounter some problems that can be solved easily. Most people immediately contact customer care when there is nothing to panic about. You can solve most of the issues on your own easily. That’s why in this article, we have tried to list the most common support issues for Clover POS.
#1 The screen is frozen. The device needs a reset.
In case of any problem, the first response that you hear from the support team is to turn the machine off and turn it on again. This method is simple and solves many issues with electronic items, so it still exists today. But sometimes, the screen of the Clover POS is frozen and becomes unresponsive. Clover devices come with a battery back which is helpful when the power goes out and the device goes in low power mode.
The same feature is troublesome when your screen becomes unresponsive. You cannot navigate to the restart button due to this. The device comes with a power cycling feature, but it may not be clear how to do it.
Clover Flex:
This device has a battery life of up to 11 hours, but if the battery runs out, it takes a long time to restart itself. This can cause frustration for some, but you can also do a “hard reset” by holding the power button for 46 seconds and then releasing it. The most consistent way to do this is by using a stopwatch or a timer app for a precise count.
Clover Mini:
Its battery life is not as long as Cover Flex. The device may need a reset if you want to start fresh, especially after the battery is drained out. It comes with a restart button that is hidden behind the printer door. To reset the device, open the printer door, and under the receipt paper, you can see a little green button. To restart the device, press the button for 10 seconds and release.
#2 The Clover Flex is not turning on.

One of the most common support issues for Clover POS is when the Clover Flex does not turn on. Sometimes, this may happen if the battery is dead. After charging the battery, if the power button still cannot turn the device on, it needs a hard reset. If the hard reset does not work, try placing the device on the charging dock, fastening it securely, and waiting a few minutes to check if the device is charging. Now hold the power button down for 46 seconds to reset.
If the device still does not work, it may not be receiving charging power from the dock. You can also charge the machine using the USB-C Cable with the port provided on the underside of the Flex.
#3 The kitchen printer is not connected.
If you are struggling to connect the printer or the kitchen staff is not getting the printed orders from the printer, you can deal with it from the Printer app without a problem. You can find the order printer, label printer, and receipt printer in the list. If the order printer is not visible in the list, click the green ‘plus’ button that you see on the bottom right corner and try to add the printer. If the list shows the printer but says it is offline, you need to check the printer itself.
On the front side of the printer, you will find a small light next to the power button. If this light is red, it means that the printer has a connectivity problem. You will need to power off the device first and check the ethernet cable. Plug it tightly into the printer and the router/modem. After a few seconds, plug it in and check the light on the front side. If the light is green now, the printer is connected correctly.
Now, check the Clover Printer App to see if the printer is showing online. If the list is still not showing the printer, check that the Clover devices and printer are on the same network.
#4 How do you add / modify a menu item?

In this situation, the Clover POS inventory management is easy to manage. Open the inventory app and select the “Items” tab. Next, select the item to modify or click the green plus button to add a new menu item. You can add or edit the item name on the next screen. Set the price, and select from the existing category of modifiers to attach that item. If your order printer is programmed to print certain menu items, you must link the appropriate label to the modified menu item.
#5 How to use the modifiers
Modifiers are the add-ons or options available for a menu item, such as the size of a coffee cup. When the staff selects coffee from the menu, they will need to add the cup size also. The Inventory app has a Group Modifier section to do such a task. For the coffee menu items, you can create a Group modifier with the name “coffee size”. The coffee size options will then add them as 12 oz, 16 oz, and 20 oz.
#6 How to add a new employee?
To add a new employee, you need the Employee app. Under the employee tab, click on the green plus button. If you do not see the app or green plus button to add a team member, check with the manager for your available permission for the app. To create a new employee in the app, add a name, a PIN, and the role you assign to them. You can also give any team member the ability to log in from the Clover web dashboard by adding their email to send the login credentials directly to them. Once you add the details, the new team member can access the app easily.
#7 How to set tax rates
When you add an item to the inventory, you also get an option to add a tax rate. If you have not changed any settings yet, all items will have the default tax rate applicable. If you do not have individual tax rates, you can add the default tax rate for all your items to use. To add the tax, select the Setup app. Inside you will see a tab for taxes. Select the default tax rate and set a single tax amount for all items. If you wish to add different tax rates, you can add individual tax rates when you add the individual items.
#8 How to run sales in offline mode?
You can use the Clover POS in offline mode when the internet is down. Thanks to this mode, you can accept credit cards even if the device is offline. When the offline mode is enabled, the system can detect the lost internet connection and kicks into the offline mode. You can check these settings within the Setup app. Open the Setup app and go to the payments tab. In the list, towards the bottom, you can see the ‘offline payment’ button.
Tap on the button to enable/disable the feature and various other associated options. In the offline mode, the device stores the transaction information and sends it for approval when it is back online. Offline transactions are risky as the device is not connected to reach out to the bank for approval immediately. Although the Transactions app can keep track of all transactions.


